The Key to Rock-Solid Parental Control on Windows 11: A Guide for Parents
- Apr 05, 2023

Parenting in the digital age has become a challenge for many parents. With more and more of our lives taking place online, it's important to ensure that your children are safe when they're browsing the web, playing games, or using apps. Fortunately, Windows 11 comes with a powerful set of parental controls designed to help you protect your kids from inappropriate content and activities. Here’s how to get started:
Step 1: Install the Microsoft Family Safety App
The first step is to install the Microsoft Family Safety application on each of your family's devices. This app will allow you to manage settings, monitor activity, and get reports about your children's online activities. To download the app, search for "Microsoft Family Safety" in Cortana. Once it’s installed, open the app and sign into it using a parent or guardian's Microsoft account details.
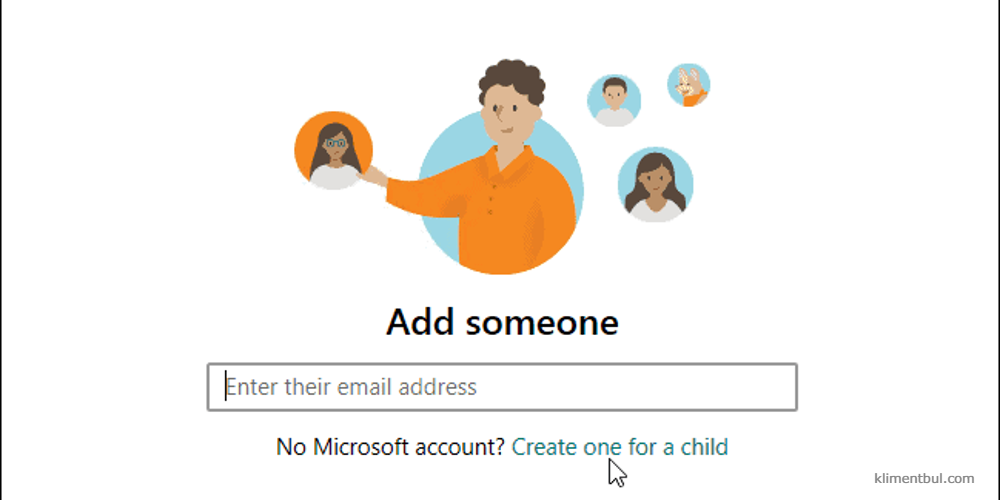
Step 2: Add Your Child’s Account
Once you're signed into the app, add each of your child’s accounts by clicking on “Add Child Account". You'll need their username and password from their own device(s) so that they can be added to your family group. Once added, click “Next” at the bottom right corner of the screen and follow any subsequent instructions if applicable.
Step 3: Access Parental Control Settings
Now that all of your child accounts have been added to the family group, it's time to access parental control settings within Windows 11 itself! On any device within your home/family network (e.g., laptop or desktop), open up Settings > Accounts > Family & Other People > Manage Family Settings Online (this may vary depending on what version of Windows 11 you are running). From here, you will be able to access all sorts of helpful features such as setting restrictions based on age ratings or content type; setting game limits across multiple devices; setting time limits for PC use; monitoring web searches; blocking inappropriate websites/apps, etc. All these settings can be customized according to each individual child!
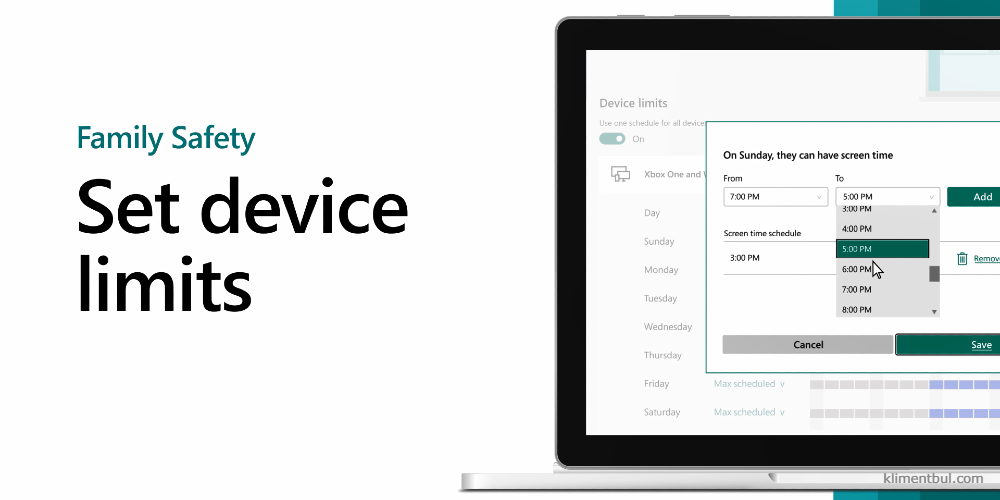
Step 4: Set Time Limits & Turn On Activity Reports
In order for parental controls in Windows 11 to work effectively, it is important that parents set appropriate time limits for their children's computer usage as well as turn on activity reports which provide detailed information about what websites and apps were accessed during certain periods of time (as long as this feature has been enabled beforehand!). To do this go back into Settings > Accounts > Family & Other People section, where you should see an option labeled "Set Time Limits" – click this button, then assign specific times when PCs should not be used by certain users in order to ensure kids stay off at night if needed! Additionally, there is also an option titled "Activity Reports", which can then be turned ON – once clicked upon, parents will receive regular emails regarding recent activities performed by individual members in their family group, thus allowing them greater insight into what their kids are doing online!
Step 5: Monitor Device Activity Remotely & Block Apps/Websites As Needed
Finally, another great feature available via Microsoft Family Safety App is remote monitoring – here, parents have the ability to view real-time screenshots taken from the device being used by one of its users (such as a tablet or phone), providing further insight into what apps/websites are being visited without having physical access itself!. If anything questionable pops up during the session, then the parent has the ability to block said website instantly without needing to take away the device from the child directly – this is especially useful for those who don't always around supervise internet usage! In addition, there are also other options, such as creating lists of preapproved websites, which would automatically allow even after specified times had passed, limiting the amount of potentially dangerous sites encountered during browsing sessions.
Additional Step 1: Configuring Web Filtering Settings
Once all the user accounts have been created, it’s time to configure web filtering settings so that inappropriate content is blocked from view. To do this, open Microsoft Edge (the default browser) and click Settings > Advanced > Content & Privacy Controls. From here, you can select which websites should be blocked or allowed based on individual user accounts or based on an entire family group at once – allowing parents even more control over what their kids can see online.

Additional Step 2: Set Up App Restrictions
Finally, it's important not to forget about app restrictions – these will ensure that apps deemed unsuitable by parents, such as social media sites, are blocked no matter where they're accessed from (browser versus an installed app). To manage these restrictions, go back into Microsoft Edge's Content & Privacy Controls section, where there are options such as “Block inappropriate apps & games” that let you decide what types of activities should be disallowed according to age-related criteria (for example, teens aged 13+ would be excluded from certain types of content). Once enabled, any attempts made by children under 13 years old will result in them being unable to access restricted apps/games without authorization from an adult admin account holder.
And there we have it – our complete guide detailing how to set up Windows 11 Parental Controls! We hope this article was helpful in giving readers a comprehensive overview of various features available along with the steps required to configure them properly to protect loved ones while still giving them the freedom to explore the digital world responsibly like adults soon enough!